As described in the article, Please Feel the Museum: The Emergence of 3D Printing and Scanning, by Liz Neely and Miriam Langer, “photogrammetry- Introducing the opportunity to create a full 360-degree scan, which can then produce a 3D print, allows a visitor to go deeper into the experience of the object” in the Spring Semester last year I was able to participate in a beginner’s course in Photogrammetry at the University of Bamberg in Bamberg, Germany.
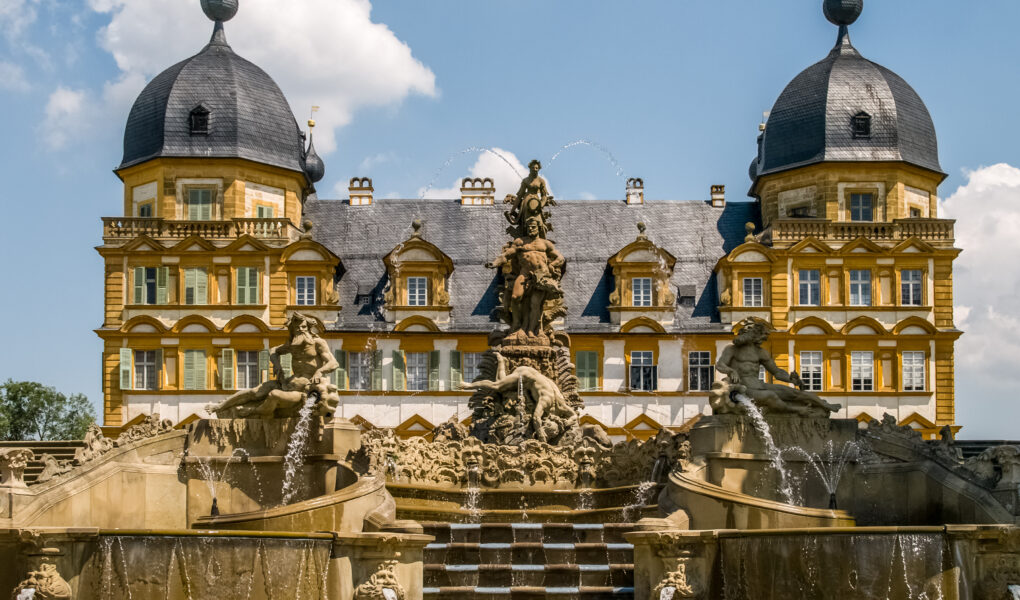
This course brought me and two other students to a castle just outside of the city, this castle is called Schloss Seehof and is known as a fancier place to take pictures, take a walk, or take a tour.
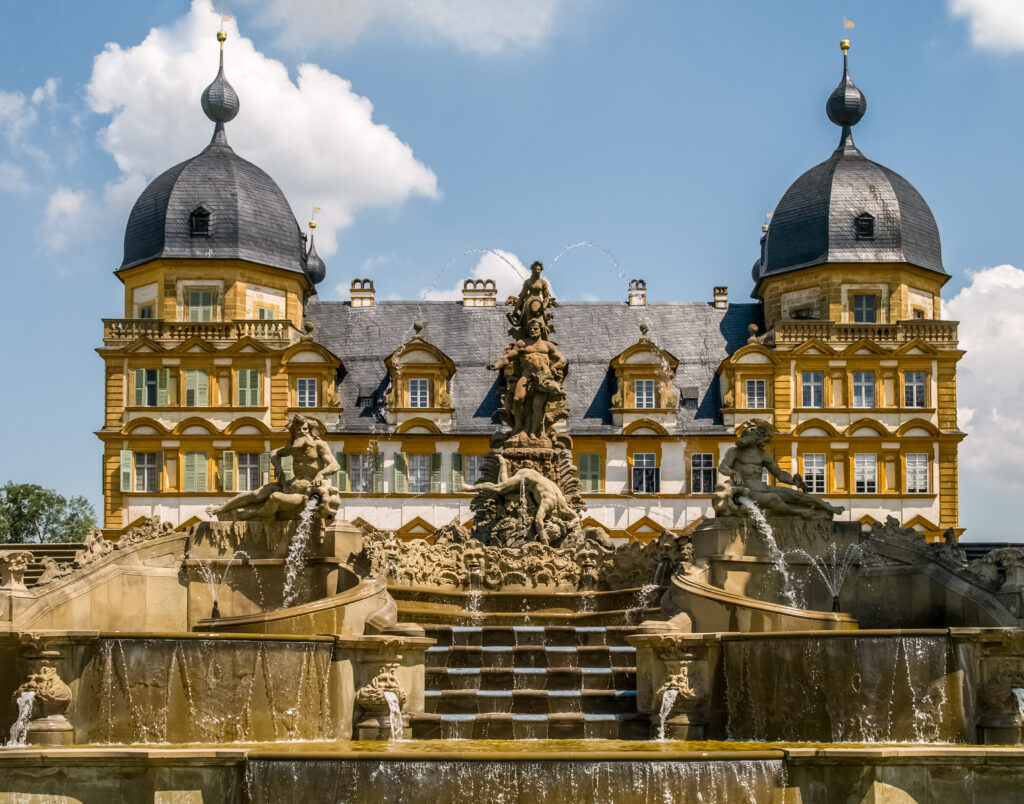
Image of Schloss Seehof
Outside the castle lies a beautiful garden. On the garden’s perimeter lies a a fence, and along the fence are stone sphere dating back centuries, but contemporarily, a local stone masonry school uses these spheres as a test for the finishing stone masons, as their, “Meisterwerk”, or masterpiece.
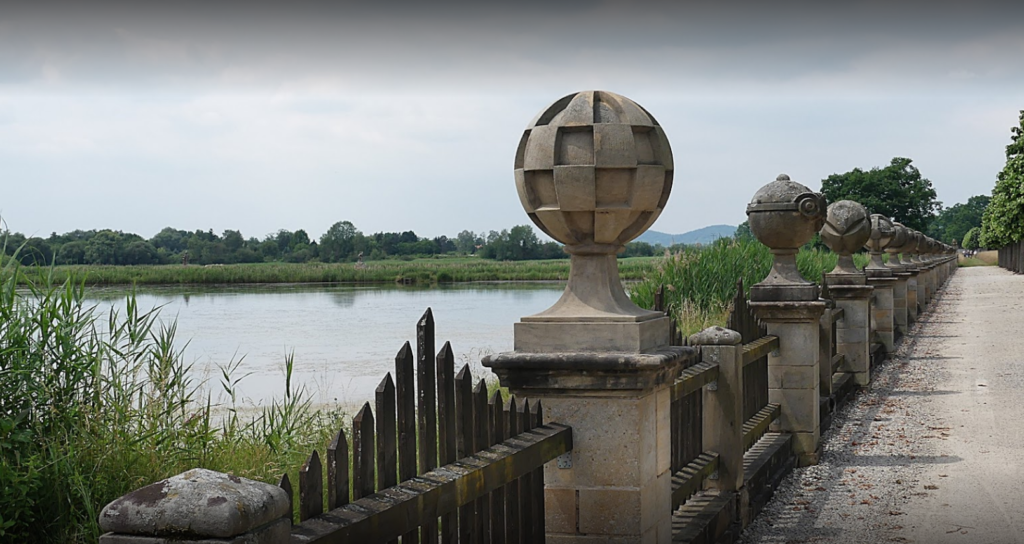
Image of the “Meisterwerke”
We took several class periods learning the correct practices of photogrammetry, and then we went to the field to complete the photographing of our objects, we each chose our own sphere to model. The photographing process required us to go around the objects slowing, moving only slightly each step and taking as many photos as possible to hopefully have enough good data to create a good model.
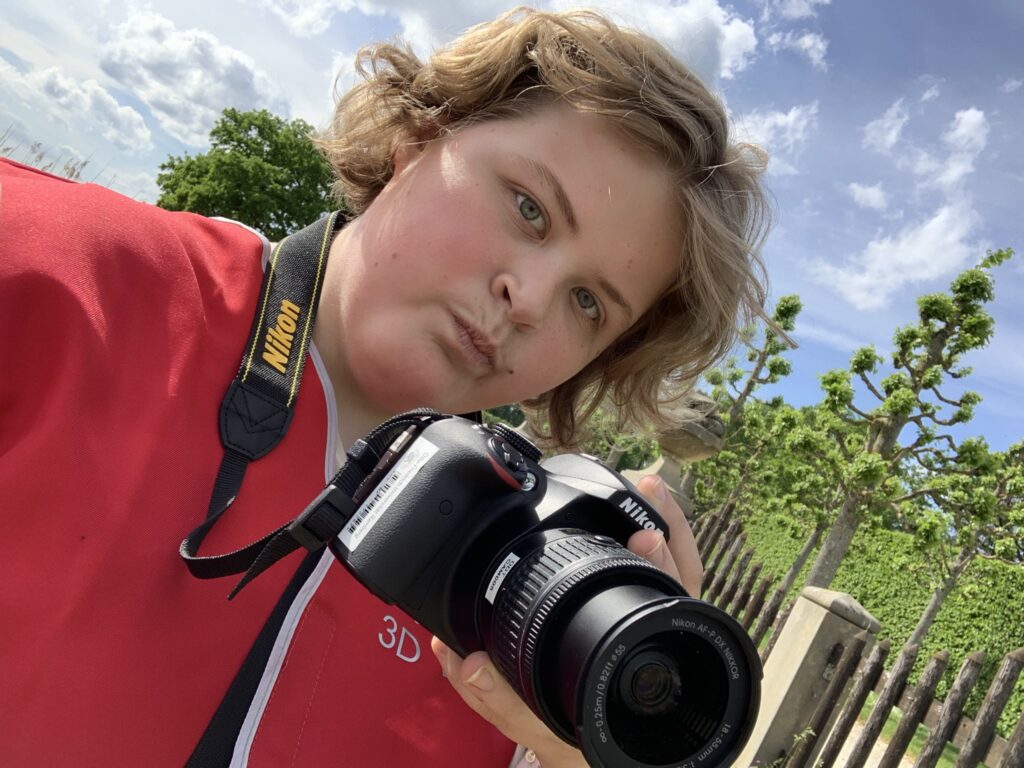
Image of me at the castle, during the photograping process
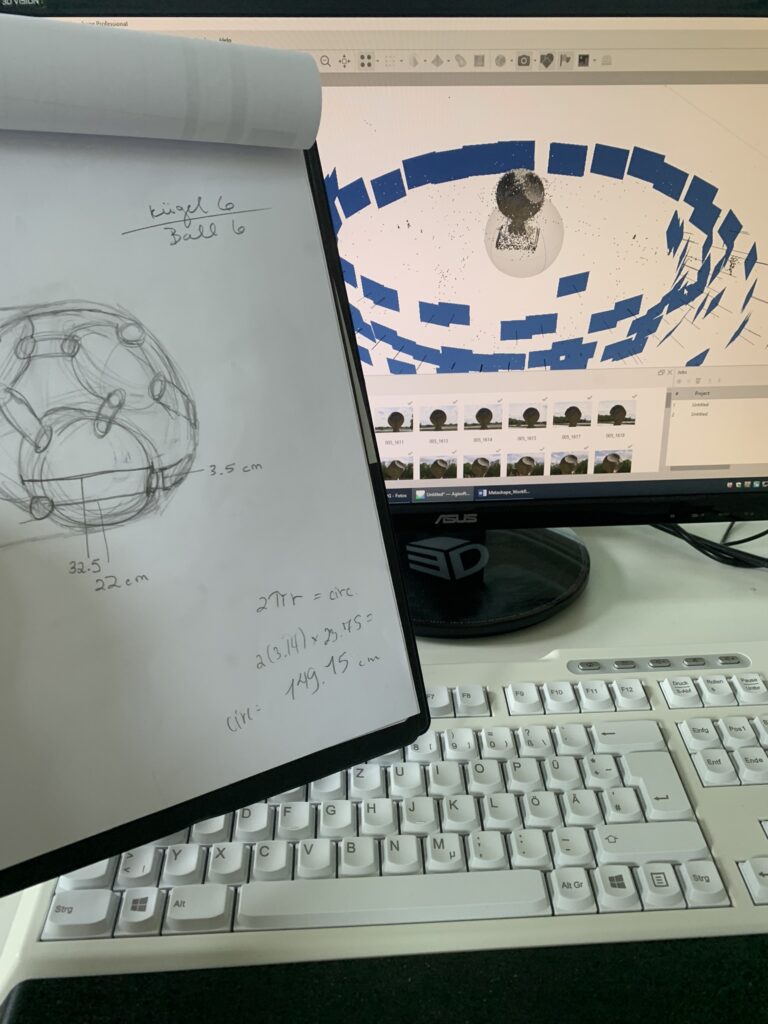
Image of me preparing a 3D model, my sketch of the actual stone ball from the field work on the left, and the program with the photos loaded in on the data cloud on the right.
In the step of digitizing the sphere and working on the technical aspects I participated in the flip-flopping coined in the same article. Neely and Langer describe this process in their article, we “construct the virtual model means closely scrutinizing; making mistakes and fixing them.”
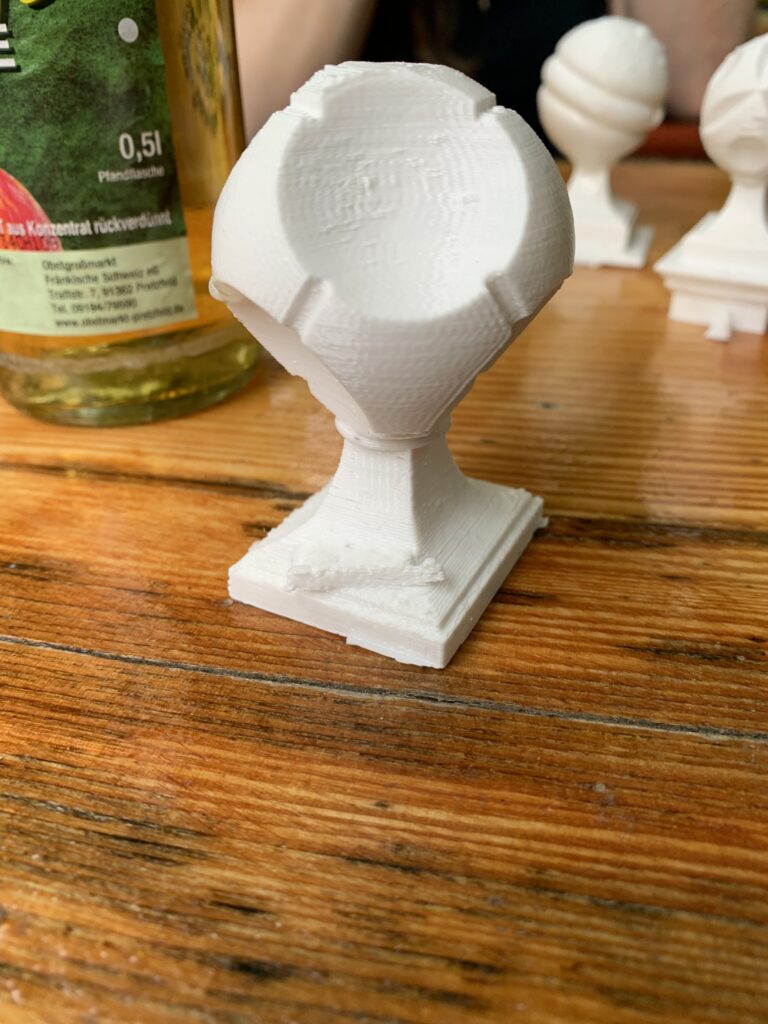
Image of the finished 3D model
After all of the edits were made to the models, all models were printed. In addition to this our work was added to the online library of many such 3D cultural objects, sketchfab. Here is a link to it: https://skfb.ly/ouSZs and as the article also mentioned at the process, “finally producing a finished model that can be modified, printed, shared, modified again, mashed up with other models, printed again, and so on—in an infinite process of sharing and changing, all of which can be traced and mapped.” My labor and creation accessible to anyone who is interested.
I found the process very fulfilling. As someone in the Heritage and Museum studies field I felt that this course was very useful and applicable. I got to learn several different programs that are becoming standard practice within the photogrammetry field. Being able to have an eye an understanding of how this process is completed and what exists within the world of photogrammetry has made me wish and hope that museums and institutions will take advantage of this technology as it becomes available. I just hope that the programming around such 3D scanned objects is more than just placing it there for patrons to look at. These 3D experiences could really be interactive rather than a passive object to be scrolled through, if you correctly. The article was overall very promising, however I found it lacking in more definite possibilities, beyond passive use in programming specifically. The article did a very good job at presenting the importance of accessibility, and the possibilities that will be afforded from the accessibility of 3D technology, and what owning such technology could be like, but more needs to be prepared, or else it will not be a utilized technology, that brings more people to the practice of digital humanities, and new people into the museum space.

This sounds like quite the exciting experience! How did you find that the program worked with just your images? Did you have to make a lot of corrections to the 3-D model before getting an accurate print?
The final model still had a lot of mistakes in it that I couldn’t change within the span of the course. A couple examples are the bottom of the pedestal where it connected to the fence, and the very top of the sphere where a lot of the data points were missing. I was too short even with the latter to be able to get the very top of the sphere. In addition to height problems, it was also very bright the day that I took the pictures, so the sun rays bounced off of the top of the spear a little bit and distorted some of the data points for the point cloud. In the model that I made within blender, a 3D modeling application, I was able to recreate the object completely without any mistakes, but it was only a model not an exact replica.
I loved reading about your experiences in Germany and your process of creating a 3D model. Are you able to use a variety of substances to create the 3D model? Or are you limited to one medium?
Thank you, it was a lot of fun. In my case we just used a special type of 3D printing plastic that comes in strings for the printer. But, depending the printer and budget you can used different types of materials as well as different scales. So, for instance my model was much smaller than the real one, and definitely not printed to scale.